Integrations
Email
Amazon SES

How to send email with Amazon SES

How to send transactional email notifications to Amazon SES with Knock.

Knock integrates with Amazon Simple Email Service (Amazon SES) to send email notifications to your users. This page walks through how to get started with SES, including provider configurations and additional data you can pass through to SES.

Features

#
  • Attachments support
  • Knock link and open tracking
  • Per environment configuration
  • Sandbox mode

Getting started

#

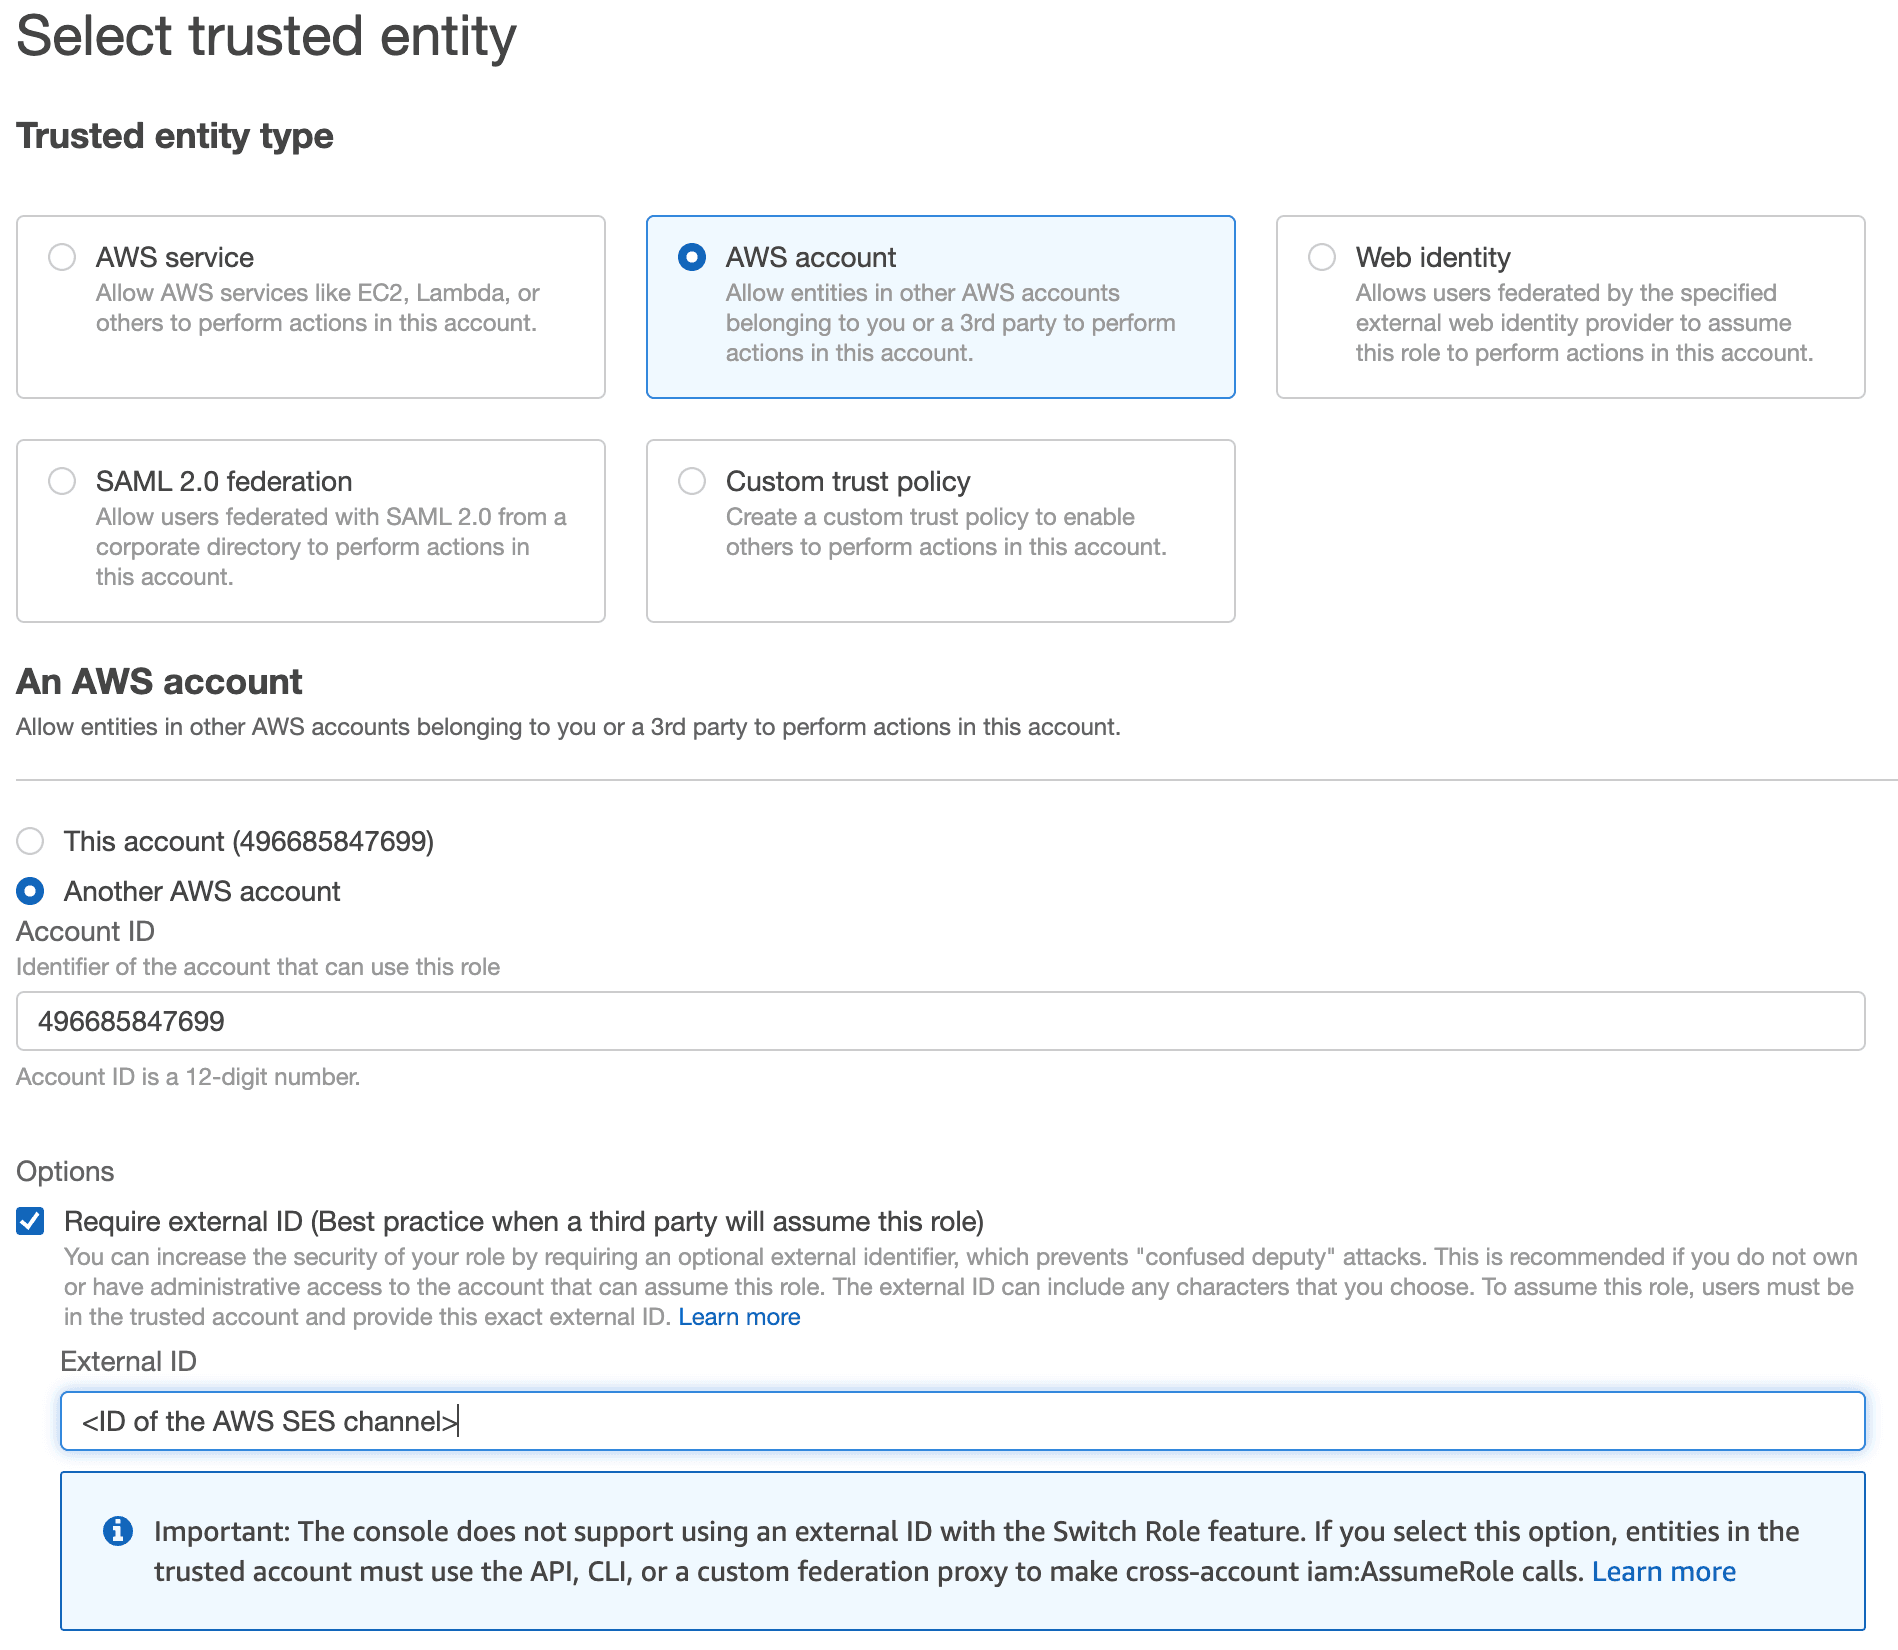
You can create a new Amazon SES channel in the dashboard under Channels and sources in your account settings. From there, you'll need to take some steps in AWS before you can configure your SES channel within Knock.

1

Verify a "From" address within Amazon SES

You'll need to verify the "From" email address you plan on using to send emails with AWS if you haven't already. To do so, follow the steps outlined in AWS's documentation on creating and verifying an email address identity.

2

Choose an AWS Authentication Scheme

Knock supports two authentication schemes with Amazon SES:

To send notifications via Amazon SES using an IAM User, Knock requires the access key ID and a secret access key of an AWS user with SES send permissions. (Specifically, the ses:SendEmail and ses:SendRawEmail permissions.)

If you don't already have a user with send permissions, you can create an IAM user in AWS to use with the Knock API. You can learn more about creating IAM users in AWS here.

Once you've created your new IAM user, you'll need to provision them with the policy below.

Now that you have an AWS user created and provisioned with SES send access, grab the access key ID and a secret access key of the user—we'll use these later when configuring the SES channel within Knock.

To send notifications via Amazon SES by delegating an IAM Role in your AWS account to Knock, secured with an External ID:

  1. Create a new AWS Role:
  • For "Trusted Entity Type" choose "AWS Account."
  • Select "Another AWS account" and put "496685847699" in the Account ID.
  • Check "Require external ID" and enter the ID of the SES channel you created in your Knock dashboard.
Configuring a new AWS role with an external ID
  1. Attach the following permission policy to that role.
  1. Use that role's ARN when configuring your Amazon SES channel in Knock.

  2. Enable Security Token Service (STS) for the us-east-2 region in your AWS account. This enables Knock to generate temporary security credentials for sending email via SES. For more information, review the AWS documentation on enabling STS for another region.

3

Configuring SES in Knock

Now that you have a verified "From" address and either an AWS User's credentials or an AWS IAM Role to delegate to Knock, you're ready to configure your SES channel in the Knock dashboard under the Channels and sources page in your account settings.

Here are a few other things to keep in mind once you have your SES channel configured in Knock:

  • SES sandbox mode. By default, AWS places all new accounts in the SES sandbox. While your account is in the sandbox, you can only send emails to verified email address—keep this in mind if you're testing in development before you've moved your account out of the SES sandbox. For more information on the SES sandbox and how to move your account out of it, see the SES sandbox documentation.
  • Deliverability tracking. By default, SES channels do not track delivery beyond "Sent". However, you can enable delivery status webhooks to receive real-time updates about email delivery and bounces.

Delivery status webhooks

#

When enabled, SES will send delivery status updates directly to Knock via webhooks, allowing you to track the full lifecycle of your email messages.

Prerequisites

#

Before enabling delivery status webhooks, you need:

  1. A verified domain or email address in Amazon SES
  2. An SES channel configured in Knock (see Getting started)
  3. Access to AWS SNS (Simple Notification Service) configuration

Setting up delivery status webhooks

#
1
  1. Navigate to Channels and sources in your Knock dashboard
  2. Select your Amazon SES channel
  3. Click "Manage configuration" for the environment you want to configure
  4. Scroll to the "Incoming message status updates" section and enable incoming webhooks
  5. Copy the generated webhook URL - you'll need this in the next step
2

In the AWS Console, configure an SNS topic to receive SES notifications:

  1. Go to the SNS Console in AWS
  2. Create a new SNS topic (or use an existing one) for SES notifications
  3. Configure the topic to send notifications for:
    • Delivery notifications
    • Bounce notifications
  4. Add an HTTPS subscription to the topic with the webhook URL from Knock
  5. Knock will automatically confirm the subscription
3

In the AWS SES Console, configure your verified domain or email to publish events to SNS:

  1. Go to Verified identities in the SES Console
  2. Select the domain or email address you're using with Knock
  3. Go to the Notifications tab
  4. Under Feedback notifications, configure:
    • Bounces: Select your SNS topic
    • Deliveries: Select your SNS topic
  5. Save your configuration

Supported delivery statuses

#

When delivery status webhooks are enabled for SES, Knock will update message statuses based on these SES events:

SES Event TypeKnock StatusDescription
DeliverydeliveredThe email was successfully delivered to the recipient's mail server
BouncebouncedThe bounced due to invalid recipient or domain

Troubleshooting

#

If delivery status updates aren't appearing in Knock:

  1. Check SNS subscription status. Verify the subscription is "Confirmed" in the AWS SNS console.
  2. Verify SNS topic configuration. Ensure the SNS topic is correctly configured for Bounce, Complaint, and Delivery notifications.
  3. Check SES notification settings. Confirm your verified identity is publishing to the correct SNS topic.
  4. Review webhook logs. Check the "Logs" tab in the Knock message detail view for incoming webhook errors.
  5. Test with verified addresses. If in SES sandbox mode, ensure you're sending to verified addresses.

Channel configuration

#

The following channel settings should be configured per environment. Navigate to Channels and sources in your dashboard account settings, select your Amazon SES channel, then click "Manage configuration" under the environment that you'd like to configure.

Fields marked with an * are required.

Knock settings

Sandbox modeboolean

Whether to enable sandbox mode for your SES channel.

Knock open trackingboolean

Whether to enable Knock email-open tracking.

Knock link trackingboolean

Whether to enable Knock link-click tracking.

Provider settings for Amazon SES

AWS regionenum*

The region of your verified domain.

Authentication schemeenum*

The authentication scheme (Access Key or External ID) to use for your SES channel.

Access key IDstring*

The access key ID from your AWS account. Required when using Access Key authentication.

Secret access keystring*

The secret access key from your AWS account. Required when using Access Key authentication.

AWS IAM Role ARN to assumestring*

The ARN of the role in your AWS Account that this channel will use. Required when using External ID authentication.

External IDstring*

The external ID for your AWS IAM Role. Required when using External ID authentication.

From email addressstring | liquid*

The default sender email address (can use Liquid tags).

From namestring | liquid

The default sender name (can use Liquid tags).

When configured, these optional overrides will apply to all emails sent from this channel in the configured environment. Learn more about email channel overrides here.

Tostring | liquid

The To email address that email notifications will be sent to (can use Liquid tags). This value will override the designated recipient's email address.

Ccstring | liquid

The CC email address that email notifications will be sent to (can use Liquid tags).

Bccstring | liquid

The BCC email address that email notifications will be sent to (can use Liquid tags).

Reply-tostring | liquid

The reply-to email address that will be included on email notifications (can use Liquid tags).

Payload overridesJSON (string) | liquid

Provide a JSON object to merge into the API payload that is sent to the downstream provider.

Set optional per-environment conditions for this channel. These conditions are evaluated each time a workflow run encounters a step that uses this channel in the configured environment. If the conditions are not met, the step will be skipped.

Additional data sent

#

Knock sends the following attributes along with your emails (all as Tags):

  • Sender: always set to knock.app
  • knock_message_id: the ID of the message this email is associated with
  • knock_workflow: the key of the workflow this message was generated from
  • knock_recipient_id: the Knock ID of the recipient this email is being sent to

You can learn about the role of these SES attributes in the Amazon SES API documentation.

Recipient data requirements

#

In order to send an email notification you'll need a valid email property set on your recipient.